Please Note that this guide is only for Windows XP. This guide will not work if you have Windows Vista
To begin we need to download a small free program called Image Resizer Powertoy. This program is made by Microsoft and is available for download by clicking on the following link: http://download.microsoft.com/download/whistler/Install/2/WXP/EN-US/ImageResizerPowertoySetup.exe
Once you have downloaded Image Resizer Powertoy, open the download (by double clicking on it)
Note: Click on any image for a larger view of that particular image.
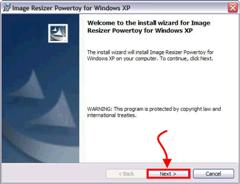
- The installer will then open. Click Next
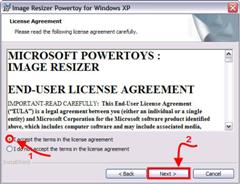
- The license agreement then should come up. Select “Accept…" then Click Next
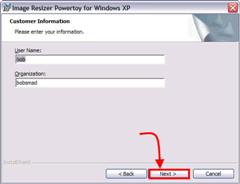
- On the Customer Information screen, leave whatever it puts in the boxes and click Next
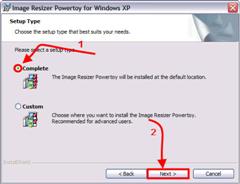
- On the Setup Type screen, choose Complete, then click Next
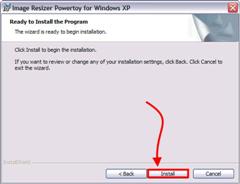
- On the Ready to Install screen, click Install
- Once it is done installing click the Finished button
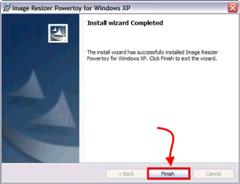
You have now complete installation of the Image Power Resizer. Great Job! Continue reading to learn how to use it to resize multiple pictures…
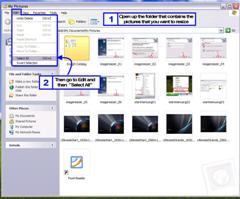
- Go to the folder where you are keeping the pictures that you want resized. Once you are there, go to Edit, then Select All
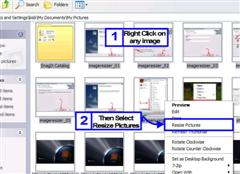
- All of your pictures should now be selected. Right click on one of the pictures and select “Resize Pictures"
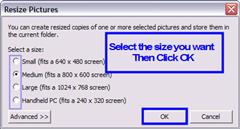
- The resize pictures utility will pop up. Simply choose the size you want, then click OK
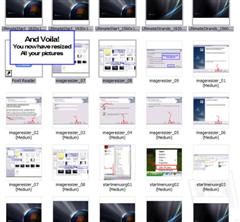
- and VOILA! Your pictures have now been resized and placed into the same folder
